If you’re new to canning with a pressure canner, you may be wondering if there are specific recipes or guidelines to follow. Well, the good news is, there are! Canning with a pressure canner can be a fun and rewarding way to preserve your favorite fruits, vegetables, and even meats. In this article, we’ll explore the world of canning with a pressure canner, discussing the importance of following tested recipes and guidelines to ensure food safety and delicious results. So, whether you’re a seasoned canner looking for new recipes or a beginner eager to try this method, read on to discover the secrets of successful pressure canning.
Choosing a Pressure Canner
When it comes to canning, choosing the right pressure canner is essential. There are a few different types of pressure canners available, so it’s important to select the one that best suits your needs. The two main types of pressure canners are dial gauge canners and weighted gauge canners.
Dial gauge canners are equipped with a pressure gauge that displays the pressure inside the canner. This allows you to easily monitor and adjust the pressure during the canning process. On the other hand, weighted gauge canners have a weighted pressure regulator that controls the pressure automatically. These canners are often considered more user-friendly and require less monitoring.
Another factor to consider when choosing a pressure canner is the size. Pressure canners come in various sizes, typically ranging from 12 to 23 quarts. The right size for you will depend on the quantity of food you plan to can. It’s important to choose a canner that is large enough to accommodate your needs but not so large that it becomes difficult to handle and store.
Lastly, consider the additional features that each pressure canner offers. Some canners come with features like a pressure relief valve, dual pressure settings, or even a built-in timer. These features can enhance your canning experience and make the process more convenient.
Preparation and Safety
Before you start canning, it’s essential to gather all the necessary equipment. This includes your pressure canner, canning jars, lids, bands, a jar lifter, and a canning funnel. Ensure that all your equipment is clean and in good condition, as any contamination or damage can affect the quality and safety of your canned goods.
Inspect and prepare your pressure canner according to the manufacturer’s instructions. This may involve checking the gasket or seal for wear and tear, ensuring the vents and safety features are functioning properly, and cleaning the canner thoroughly. Taking the time to properly prepare your canner before each use will help ensure a successful canning process.
Preparing your jars and lids is another crucial step. Wash your jars in hot, soapy water and rinse them well. Inspect the jars for any chips or cracks, as these can compromise the seal. Place the lids in a separate pot of boiled water to soften the rubber seal. This will help ensure a proper seal when processing the jars.
Personal safety is paramount when canning. Always follow the safety guidelines provided with your pressure canner and be aware of the potential risks involved. Take precautions such as using heat-resistant gloves, keeping children and pets away from the canning area, and working in a well-ventilated space. By prioritizing personal safety, you can enjoy the canning process without any worries.
Canning Process
Once you have prepared all your equipment and taken the necessary safety measures, you can begin the canning process. It starts with selecting the recipes you want to can.
Carefully choose recipes that are suitable for pressure canning. Certain foods, such as low-acid vegetables and meats, require pressure canning to ensure their safety. On the other hand, high-acid foods like fruits and tomatoes can be safely processed using a water bath canner. Make sure to follow reputable recipes or guidelines to ensure the correct processing times and techniques.
Before filling your jars, prepare the food you wish to can. This may involve blanching vegetables, peeling fruits, trimming excess fat from meats, or pre-cooking sauces and soups. Follow the recipe instructions to properly prepare the food for canning, as each type of food may require specific steps.
Once your food is prepared, fill your jars using a canning funnel to avoid any spills or contamination. Leave the recommended headspace, which is the space between the food and the top of the jar. This headspace allows for expansion during processing and helps create a proper seal.
After filling the jars, add liquid, such as water or a canning liquid specified in your recipe. The liquid helps evenly distribute heat throughout the jar during processing. Be sure to leave the appropriate headspace when adding the liquid.
Next, apply the lids and bands to the jars. Make sure the lids are centered and tighten the bands until they are fingertip tight. This means tightening them until you feel resistance, but not overly tight.
Carefully load the filled jars into your pressure canner, following the manufacturer’s instructions on arrangement and spacing. Be mindful not to overcrowd the canner, as this may result in uneven heat distribution and improper processing.
Processing Jars
Controlling the heat and pressure during the canning process is crucial for successful preservation. Adjust the heat on your stove or other heat source to gradually reach and maintain the desired pressure according to your recipe. Dial gauge canners require monitoring the pressure using the gauge, while weighted gauge canners maintain pressure automatically.
Allowing for venting is an important step before reaching the desired pressure. This ensures that any excess air is expelled from the canner, preventing the potential risk of an unsafe canning environment. Follow the manufacturer’s instructions to determine the required amount of venting time for your specific canner.
Once the canner has vented for the recommended time, put on the pressure regulator or close the vent, depending on your canner type. Continue to monitor the pressure and heat, making any necessary adjustments to maintain the desired pressure for the specified processing time.
Keep a close eye on the processing time indicated in your recipe. Under-processing may lead to food spoilage, while over-processing can result in a loss of quality. Accurate timing is crucial for achieving safe and delicious canned goods.
After the recommended processing time has elapsed, turn off the heat and allow the pressure to naturally release from the canner. Avoid any abrupt cooling methods, as this can lead to seal failure or food spoilage. Never force the pressure to release by opening the canner manually.
Cooling and Storing
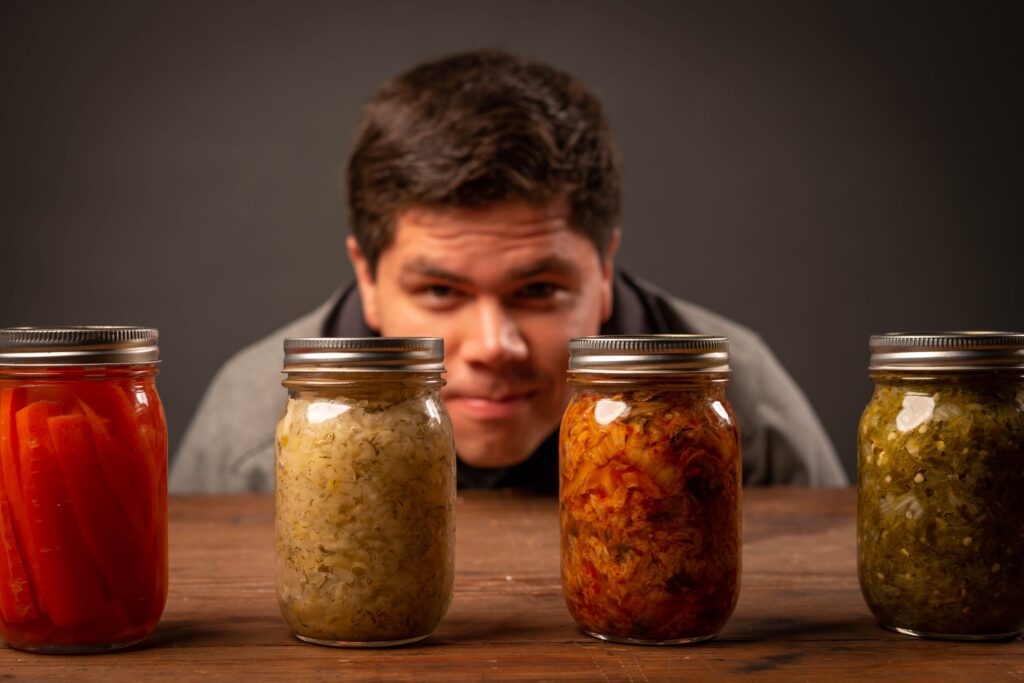
Once the pressure has completely released, carefully remove the jars from the canner using a jar lifter and place them on a heat-resistant surface. Allow the jars to naturally cool for 12 to 24 hours, undisturbed. During this time, you may hear the satisfying “pop” sound of the lids as they seal.
To verify the seal, gently press down on the center of each lid. If the lid remains firm and does not bounce back, it indicates a proper seal. Any unsealed jars should be refrigerated and consumed promptly.
After confirming the seals, remove the bands from the jars. Clean the jars and lids with warm, soapy water to remove any residue. Label the jars with the contents and date of canning, and store them in a cool, dark place away from direct sunlight.
Specific Canning Recipes
Pressure canning opens up a world of possibilities for preserving a variety of foods. Here are some specific recipes you can try:
Vegetables
From green beans to carrots and beets, many vegetables can be preserved using a pressure canner. Blanching the vegetables before canning helps maintain their vibrant color and texture. Follow the guidelines provided in reputable canning resources to ensure the appropriate processing times for each type of vegetable.
Fruits
Pressure canning is not the recommended method for canning most fruits. However, there are exceptions for low-acid fruits such as apples, pears, and peaches. These fruits can be safely preserved using a pressure canner. Again, consult reliable recipes and resources to determine the correct processing times and techniques.
Meats
Pressure canning is essential for canning meats, as it ensures they reach a temperature that destroys harmful bacteria. Meats like chicken, beef, and pork can be safely processed in a pressure canner. Trim excess fat, cook the meat until it’s fully cooked but still tender, and follow reputable canning recipes for processing times.
Sauces and Soups
Homemade sauces and soups can be conveniently canned using a pressure canner. From pasta sauce to stock and chili, these flavorful creations can be preserved for future use. Ensure that the recipes you choose have the appropriate acidity levels and follow the recommended processing times.
Jams and Jellies
While most fruit jams and jellies can be processed using a water bath canner, there are a few recipes that require the use of a pressure canner. For example, pineapple jam is a low-acid preserve that benefits from pressure canning. Look for reliable recipes that specify pressure canning for fruit spreads.
Pickles and Relishes
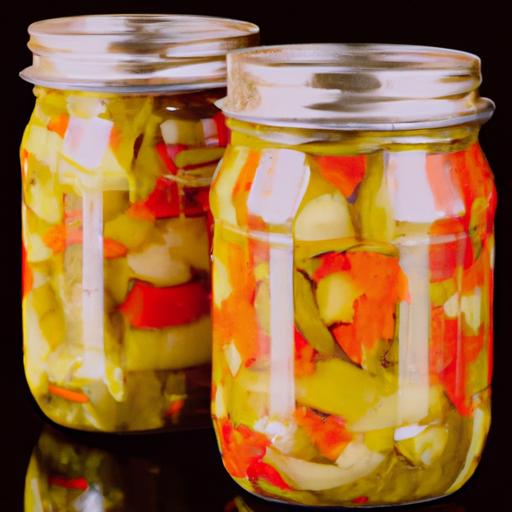
Many pickle and relish recipes can be processed using a water bath canner, but some low-acid pickles require pressure canning. Recipes like dilly beans or bread and butter pickles with added vegetables may need pressure canning for safe preservation. Follow reputable recipes to ensure the proper processing method.
Altitude Adjustments
Altitude plays a crucial role in pressure canning, as it affects the boiling point of water and, consequently, the processing times. Proper altitude adjustments are essential to ensure safe canning and to prevent under-processing or over-processing.
Understanding the effects of altitude is the first step in making the necessary adjustments. At higher altitudes, atmospheric pressure decreases, which lowers the boiling point of water. As a result, the temperature needed to achieve the desired pressure for canning will be lower than at sea level.
To determine the exact altitude of your location, you can use a gauge specifically designed for altitude testing. These gauges provide accurate readings and make it easier to adjust your processing time accordingly.
Once you have determined your altitude, consult reputable canning resources or the National Center for Home Food Preservation for altitude adjustments specific to your recipe. These adjustments will help ensure that your canned goods are safely processed and preserved.
Troubleshooting and Common Mistakes
Even the most experienced canners may encounter some challenges during the canning process. Here are some common issues and tips for troubleshooting:
Failure to Reach Adequate Pressure
If your canner fails to reach the desired pressure, there may be a problem with the heat source, the seal on the canner, or the pressure release valve. Check for any leaks, make sure the heat source is sufficient, and consult the manufacturer’s instructions for troubleshooting advice.
Liquid Loss during Processing
Sometimes, jars may lose liquid during the canning process, resulting in insufficient headspace. This can occur due to improper sealing, overfilling the jars, or using weak or damaged lids. Ensure that the lids are positioned correctly and have a good seal, avoid overfilling the jars, and use high-quality lids designed for canning.
Inaccurate Processing Time
Processing time is crucial for safe canning, and inaccuracies can compromise the quality and safety of your canned goods. Always refer to reputable recipes and resources for accurate processing times. Improperly adjusting the processing time based on personal preference or underestimating the preparedness of the food can lead to potential safety risks.
Sealing Issues
Improperly sealed jars can pose a risk of food spoilage and contamination. Ensure that the rims of the jars are clean and free of any food particles or residue before applying the lids. Additionally, follow the recommended headspace to allow for proper sealing, and tighten the bands until they are fingertip tight, but not overly tight.
Unsafe Canned Food
Safety should always be the top priority when canning. If you encounter any issues during the canning process that may compromise the safety of your canned goods, it is best to err on the side of caution. Unsafe canned food can lead to foodborne illnesses, so it is essential to discard any jars that show signs of spoilage, contamination, or compromised seals.
Storage and Shelf Life
Proper storage conditions are vital for maintaining the quality and safety of your canned goods. Here are some guidelines for storing your canned food:
Proper Storage Conditions
Store your canned goods in a cool, dark place with stable temperatures. A pantry, basement, or cellar are ideal locations. Avoid areas exposed to direct sunlight, as it can cause premature deterioration and loss of quality. Ensure that the storage area is dry and free of excessive moisture to prevent mold growth.
Determining Shelf Life
The shelf life of canned food can vary depending on the type of food and the quality of the canning process. Generally, home-canned food can be safely stored for up to one year. However, it’s important to label each jar with the date of canning to track its freshness. For optimal taste and quality, it is recommended to consume home-canned food within a year.
Inspecting for Spoilage
Before consuming canned food, inspect the jars for any signs of spoilage or contamination. Look for bulging lids, leaks, unusual odors, or any visible signs of mold or discoloration. If you notice any of these indicators, discard the jar immediately to avoid any risk of foodborne illnesses.
Using Canned Food Safely
When using home-canned food, it’s important to take proper food safety precautions. Always follow recommended cooking instructions and heat canned food thoroughly before eating. Avoid consuming canned food that appears spoiled or has an off odor, as these can be signs of bacterial contamination.
Conclusion and Final Tips
Congratulations on choosing to explore the world of pressure canning! With the right equipment, knowledge, and safety precautions, you can confidently preserve your favorite foods for future enjoyment.
Remember to continuously expand your canning repertoire by trying new recipes and techniques. Canning is a skill that can be honed over time, and each batch offers an opportunity for learning and improvement.
By following the guidelines provided in reputable resources, monitoring the pressure and processing times accurately, and prioritizing safety, you can embark on a rewarding canning journey. The satisfaction of seeing your pantry filled with home-canned goods and knowing exactly what’s in each jar is truly priceless. Enjoy the fruits of your labor and share the joy of homemade canned food with family and friends. Happy canning!
